paradise Inspired Nail Art Designs at Home
paradise Inspired Nail Art Designs at Home. Nail art has become a popular form of self-expression, allowing individuals to showcase their creativity and style. One trending theme that has captured the imagination of many is the paradise nail art design. Transporting the tranquility and beauty of paradise to your fingertips is not only a delightful creative endeavor but also a therapeutic activity. In this comprehensive guide, we’ll walk you through the steps to achieve a stunning paradise-inspired nail art design from the comfort of your home.
Materials Needed:
 paradise Inspired Nail Art Before diving into the creative process, gather the necessary materials to ensure a smooth and enjoyable experience. Here’s a list of items you’ll need:
- Base Coat:
- Start with a quality base coat to protect your nails and ensure a smooth application of nail polish.
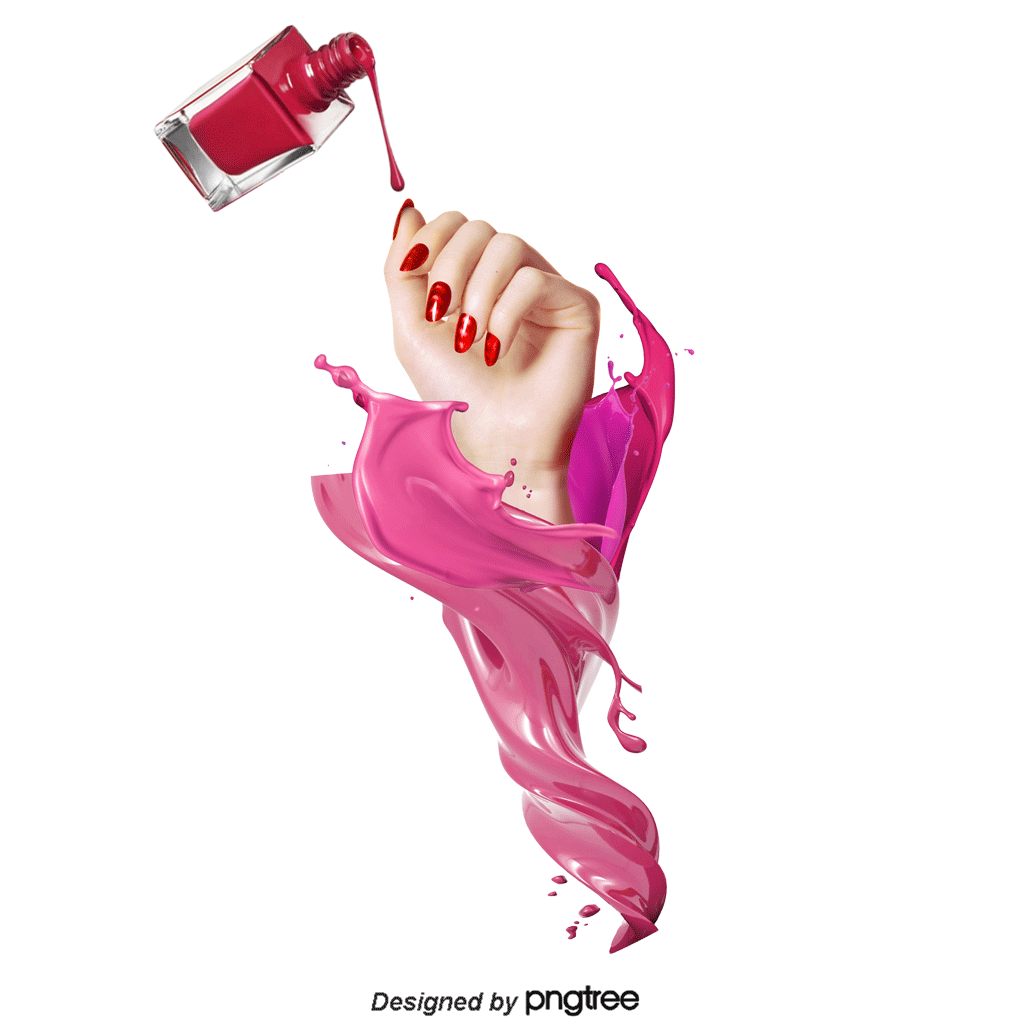
- Nail Polish:
- Choose a variety of colors that evoke paradise, such as ocean blues, sandy neutrals, and lush greens.
- Top Coat:
- Finish your masterpiece with a top coat to seal in the design and add a glossy finish.
- Nail Art Brushes:
- Invest in a set of fine-tipped brushes for intricate details and precise designs.
- Dotting Tools:
- These tools are essential for creating perfectly round shapes, such as bubbles or coconuts.
- Nail Striping Tape:
- Use tape to achieve clean lines and geometric patterns in your design.
- Nail Gems and Studs:
- Add a touch of glamour by incorporating small gems or studs reminiscent of beach treasures.
- Nail Polish Remover:
- Keep a gentle nail polish remover on hand for any necessary corrections.
Step-by-Step Guide:paradise Inspired Nail Art
Now that you have all your materials ready, let’s embark on the journey of creating a paradise-inspired nail art design.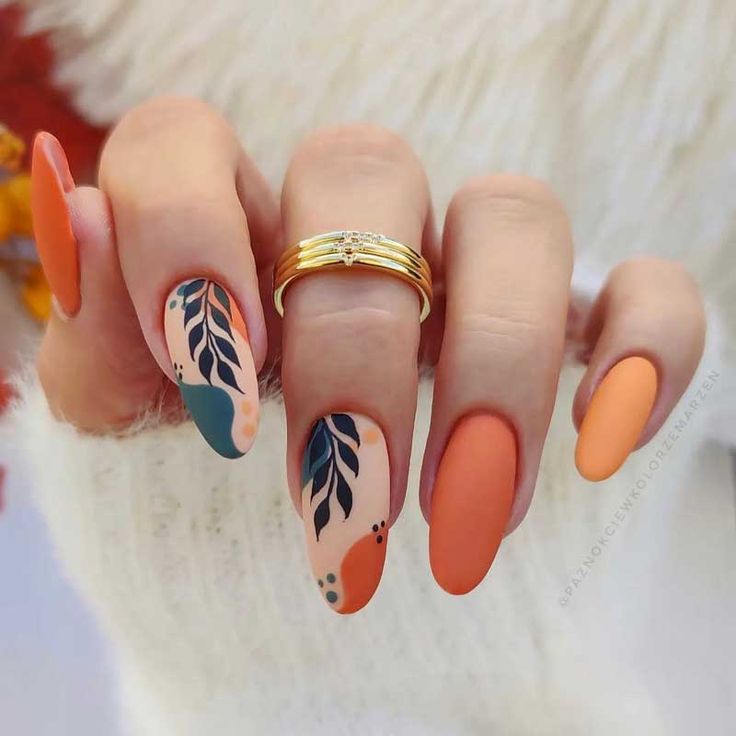
Step 1: Prepare Your Nails
Paradise Inspired Nail Art Start by ensuring your nails are clean and trimmed. Apply a base coat to protect your natural nails and provide a smooth canvas for the nail art.
Step 2: Choose Your Color Palette
paradise Inspired Nail Art Select colors that resonate with the paradise theme. Consider ocean blues, sandy beiges, palm tree greens, and sunset oranges. The choice of colors is crucial in capturing the essence of a tropical paradise.
Step 3: Create a Gradient Background
For a serene beach sunset effect,paradise Inspired Nail Art create a gradient background. Apply the lightest color near the cuticle and gradually darken towards the tip. Blend the colors using a makeup sponge for a seamless transition.
Step 4: Design the Horizon
Use nail striping tape to create a crisp horizon line across your nails. This technique will give the illusion of a clear separation between the sky and the sea.
Step 5: Paint Palm Trees
With a fine-tipped brush, paint slender palm trees against the sunset background. Experiment with different tree heights and shapes to add visual interest. Remember, simplicity can be just as striking.
Step 6: Add Tropical Foliage
Enhance your paradise design by incorporating tropical foliage. Paint small leaves or fronds using varying shades of green. This step adds depth to your nail art and reinforces the tropical theme.
Step 7: Introduce Beach Elements
For a complete paradise Inspired Nail Art experience, introduce elements like seashells, starfish, and beach umbrellas. These details can be delicately painted or achieved using nail art decals and stickers.
Step 8: Create Oceanic Details
Add dimension to your paradise nails by painting oceanic details. Tiny waves, bubbles, or even a distant sailboat can contribute to the overall aesthetic.
Step 9: Incorporate Texture with Gems and Studs
paradise Inspired Nail Art Apply gems or studs strategically to simulate the texture of beach sand or sparkling ocean water. Consider placing them at the base of your nails for a chic and eye-catching touch.
Step 10: Seal the Design with a Top Coat
Once you are satisfied with your paradise-inspired nail art, seal the design with a top coat. This not only protects your creation but also adds a professional-looking finish.
Maintenance Tips:
- Avoid Harsh Chemicals: When doing household chores, wear gloves to protect your nail art from harsh chemicals that can chip or fade the design.
- Moisturize: Keep your cuticles and nails moisturized with cuticle oil or hand cream to maintain the health and longevity of your nail art.
- Regular Touch-ups: If any part of your design chips or fades, perform touch-ups using the original colors. This ensures your paradise nails stay vibrant.
Conclusion:
Creating a paradise-inspired nail art design at home is not only a fun and therapeutic activity but also a fantastic way to showcase your creativity. With a few simple tools and a bit of patience, you can transform your nails into a miniature tropical getaway. paradise Inspired Nail Art Whether you’re dreaming of a beach vacation or just want to express your love for all things paradise, this step-by-step guide will help you achieve stunning results. Embrace the colors, textures, and imagery of paradise, and let your nails become a canvas for your own personal oasis.