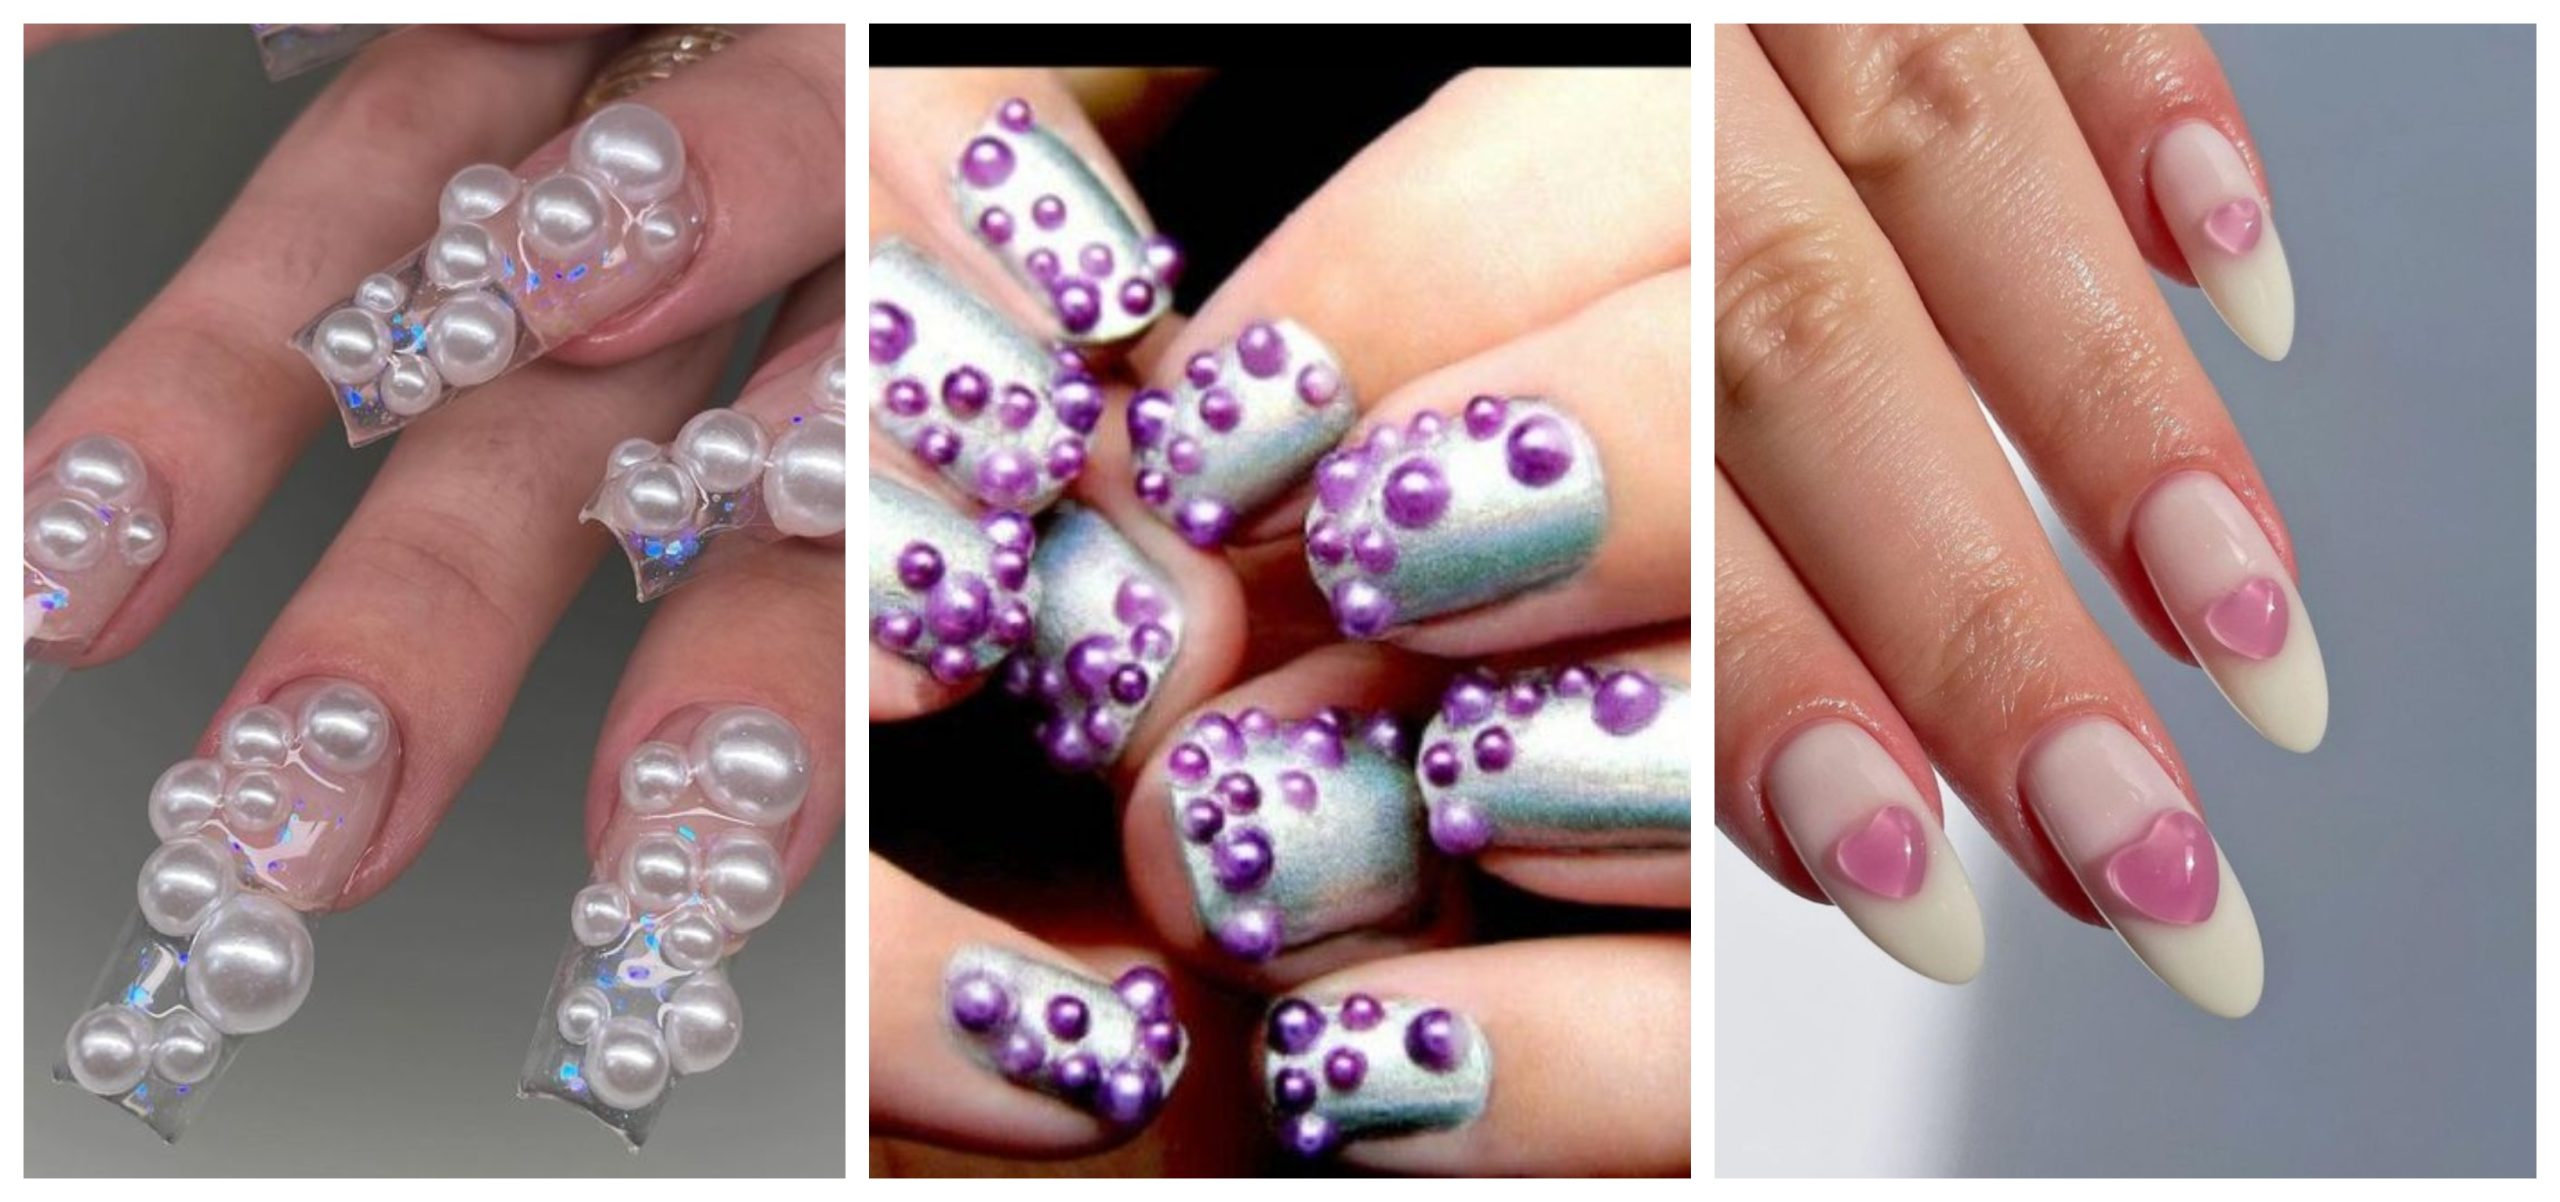
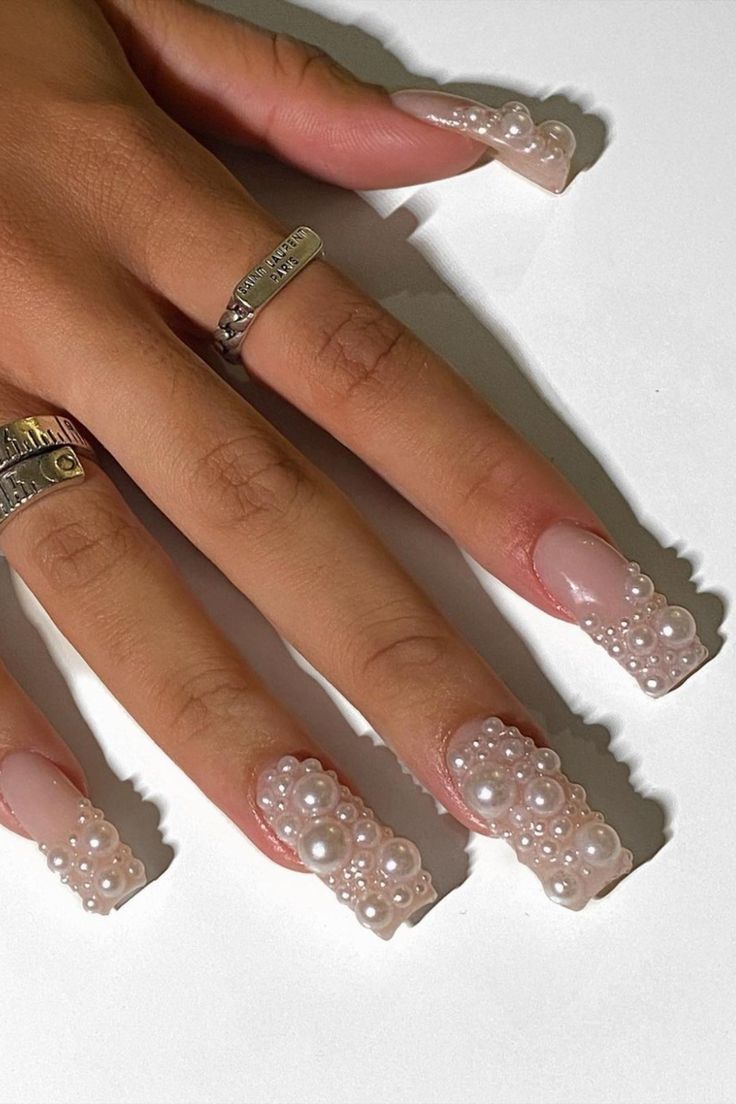
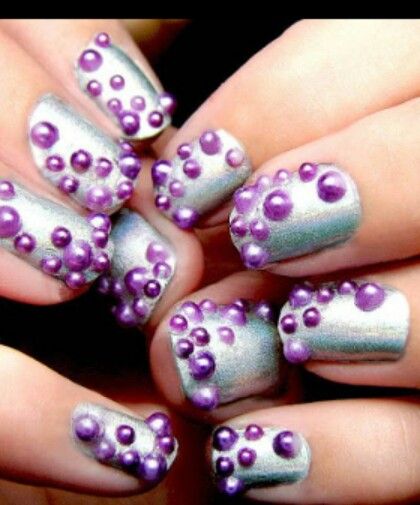
3D bubble nail art is a creative and visually stunning nail design technique where small bubbles or “beads” are added onto the nails to create a textured, three-dimensional effect. Here’s a general guide on how to achieve this look: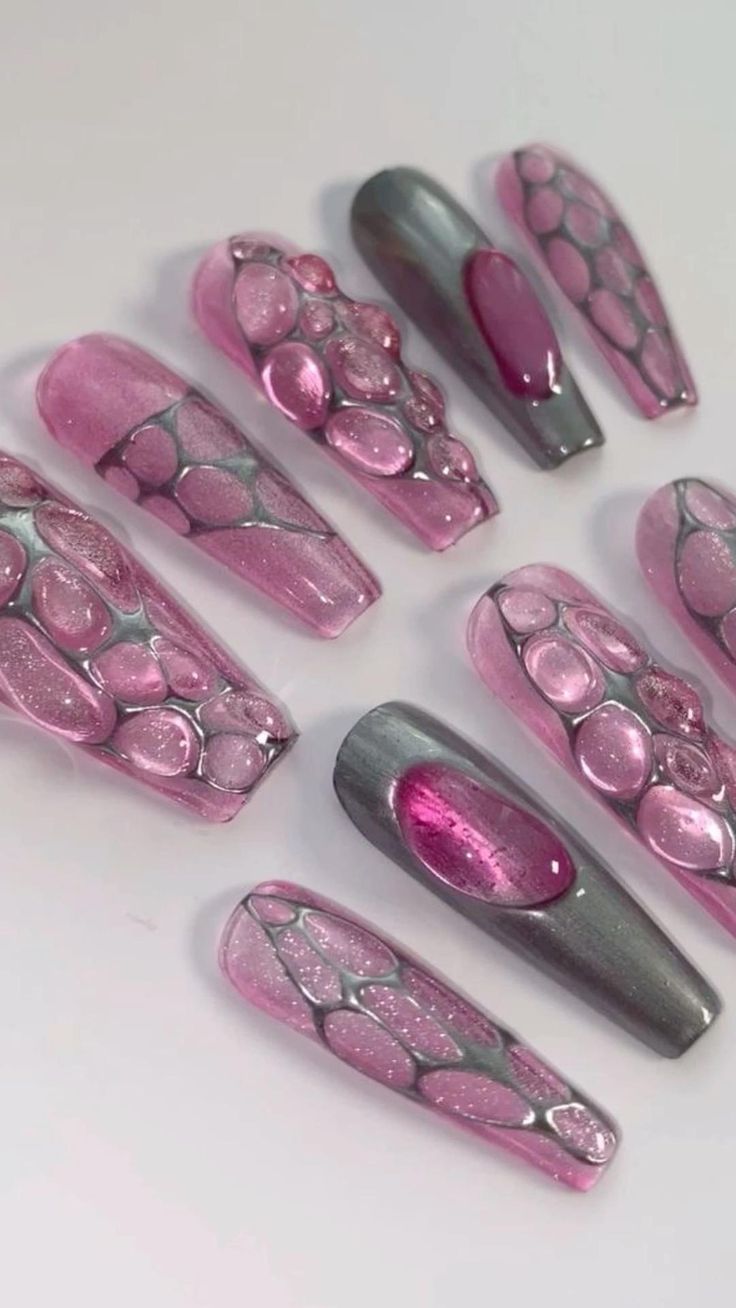
- Prepare Your Nails: Start by cleaning and shaping your nails to your desired length and shape. Push back your cuticles and buff the surface of your nails gently.
- Base Coat: Apply a clear base coat to protect your natural nails and provide a smooth surface for the nail art.
- Apply Nail Polish: Apply a base color of your choice to your nails and let it dry completely. This will serve as the background for your bubble design.
- Prepare the Bubble Beads: You can use small nail art beads or microbeads, which are available in various colors and sizes. Pour some of the beads onto a flat surface like a piece of paper or a nail art palette for easy access.
- Apply Top Coat in Sections: Working on one nail at a time, apply a layer of clear top coat to a small section of the nail where you want to add the bubble beads. Be sure not to apply top coat to the entire nail at once, as it will dry too quickly, and the beads won’t adhere properly.
- Place the Beads: Using a toothpick, orangewood stick, or a small nail art brush dipped in clear top coat, pick up a bead and gently place it onto the wet top coat on your nail. You can arrange the beads in any pattern or design you like.
- Repeat: Continue adding beads to the wet top coat, working in small sections until you’ve achieved the desired look on each nail.
- Seal with Top Coat: Once you’ve placed all the beads and they’ve adhered securely, apply a final layer of clear top coat over the entire nail to seal in the design and give it a smooth finish. Be sure to cap the edges of your nails with the top coat to prevent premature chipping.
- Let Dry: Allow your nails to dry completely before engaging in any activities to prevent smudging or damaging the design.
- Optional: You can further customize your bubble nail art by adding other embellishments like rhinestones, glitter, or nail stickers for an extra touch of sparkle and dimension.
Remember to practice patience and precision when working with the bubble beads to achieve the best results. Experiment with different colors, patterns, and placement techniques to create unique and eye-catching designs.